My Top 5 Edible Messy Mark Making Trays
At Little Learners we create lots of different trays each week and so, I thought I would share my top 5 edible messy mark making trays. The trays you could re-create at home and perfect for those teething babies/ toddlers who put anything and everything in their mouths. That phase where they test everything through taste! I will share how I prep and my top tips.
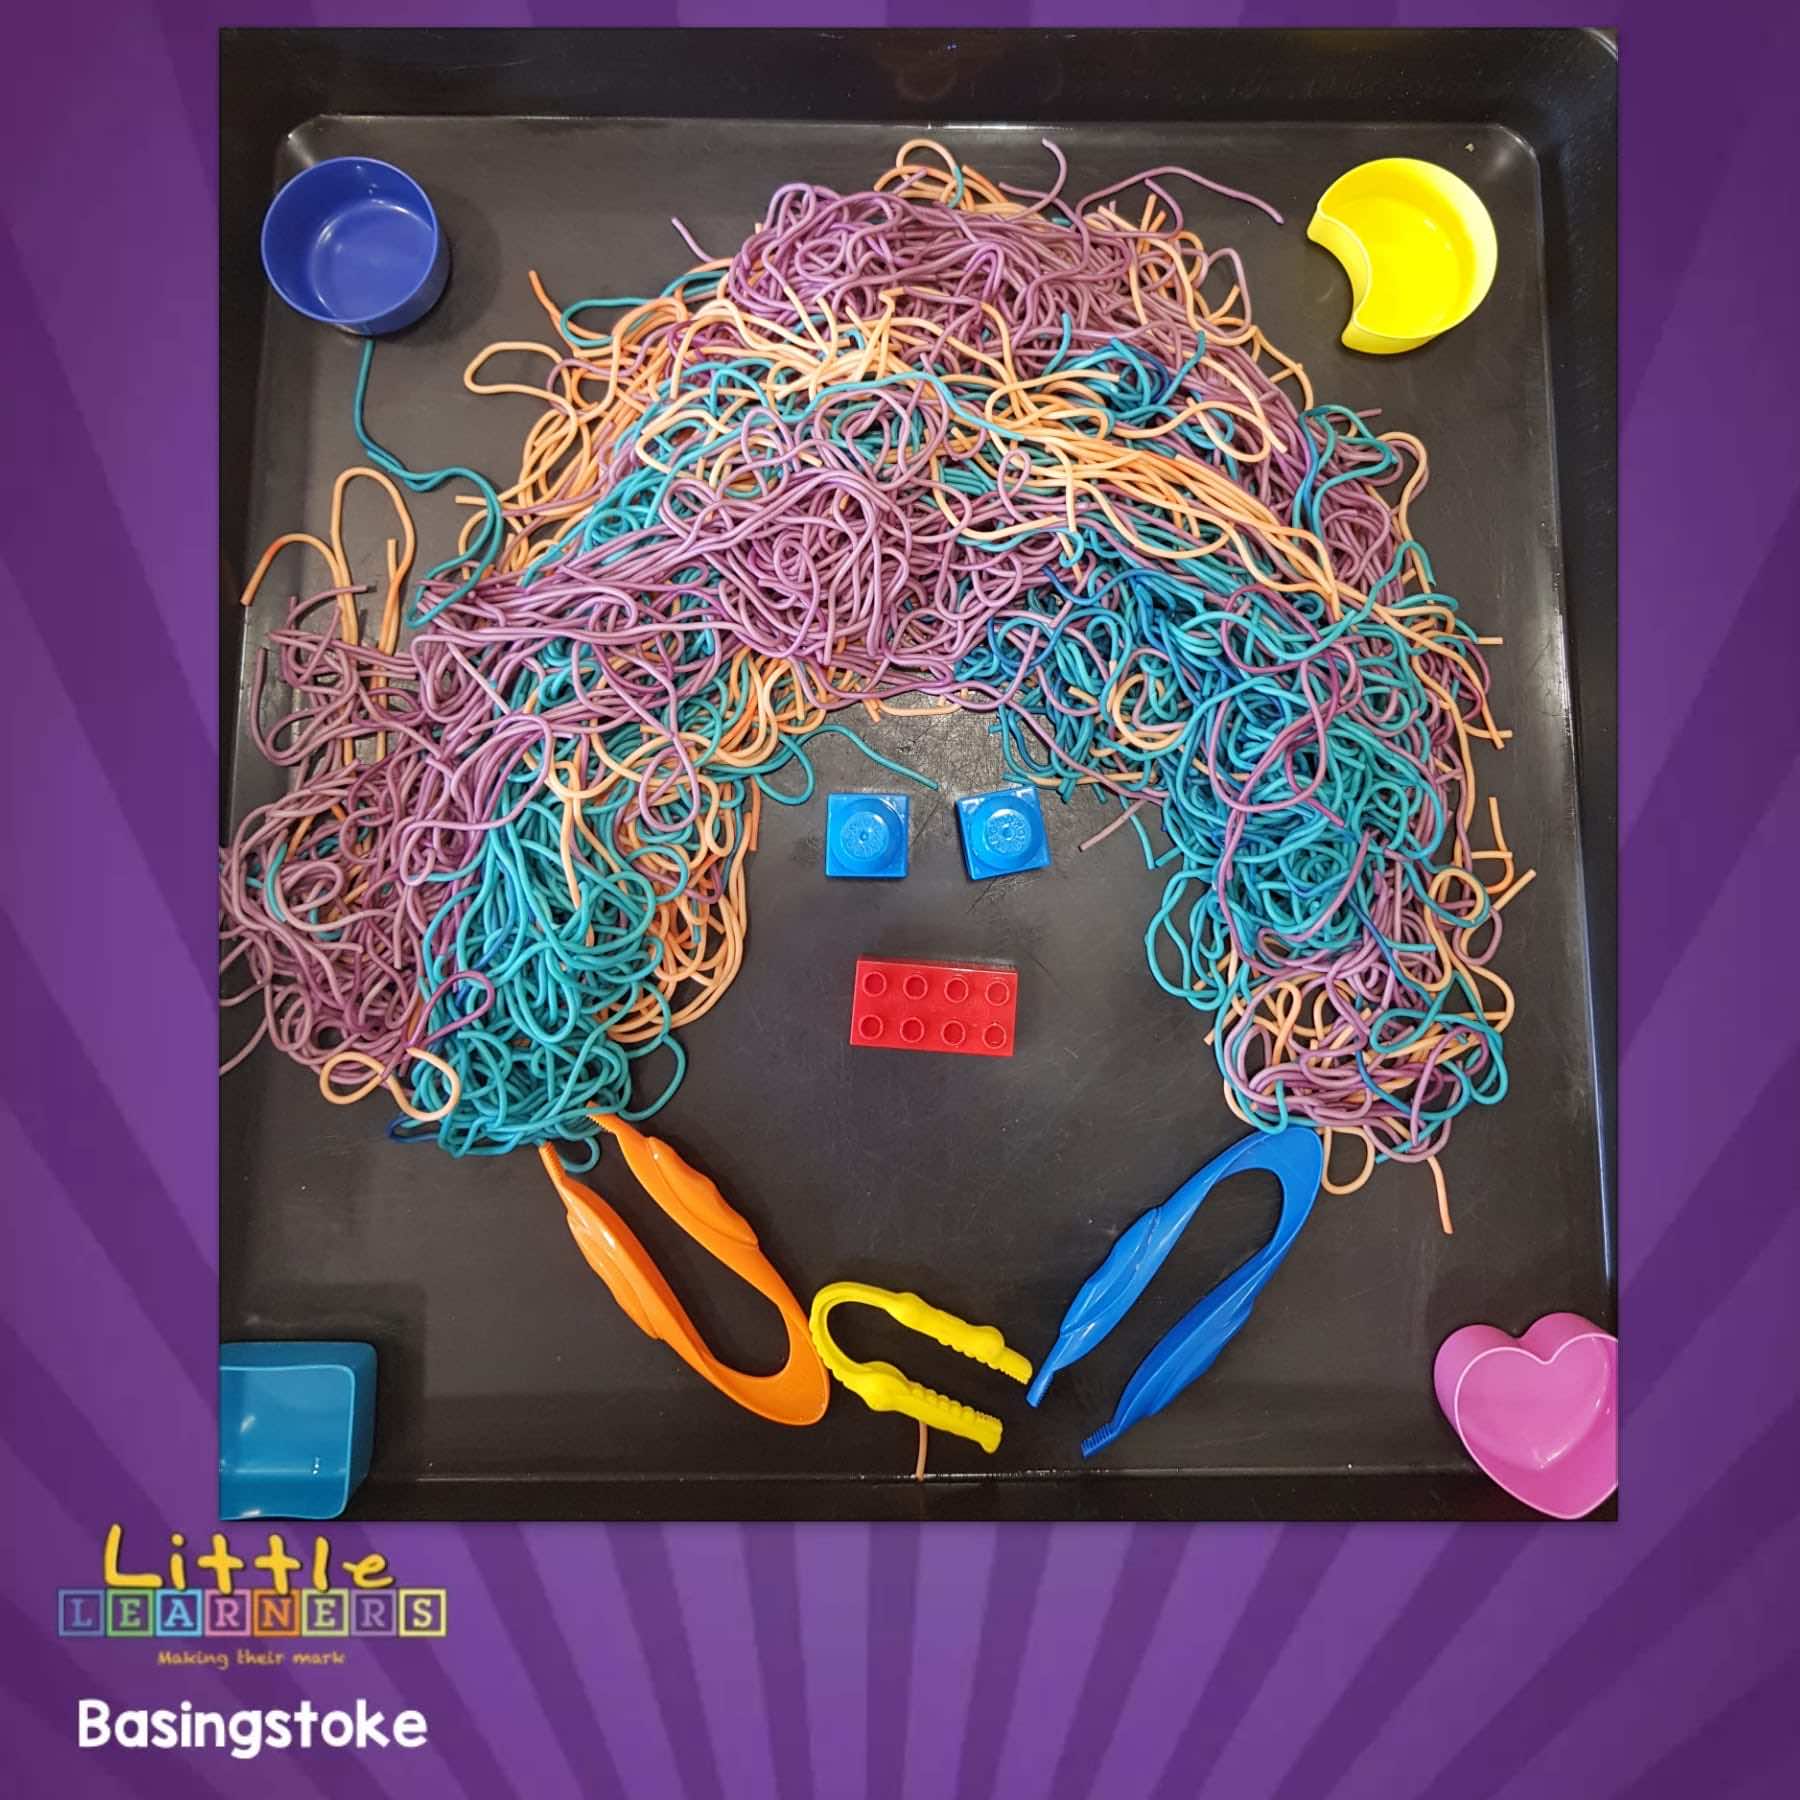
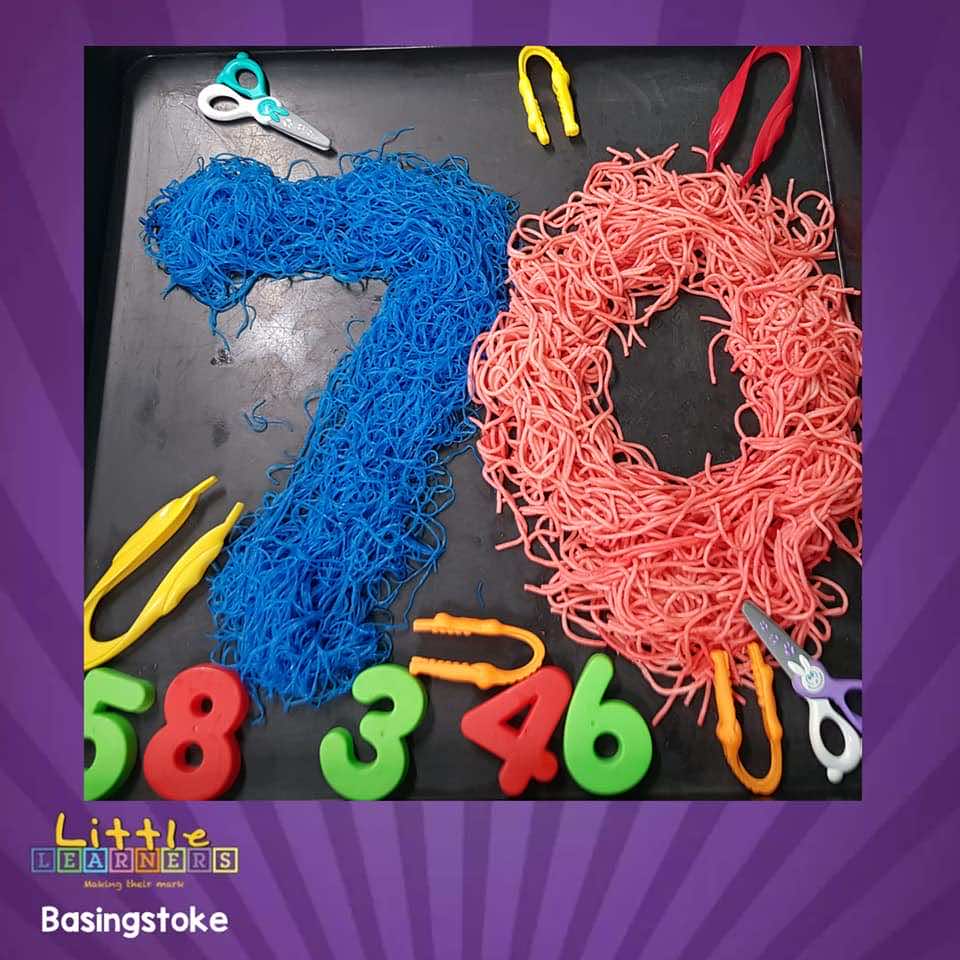
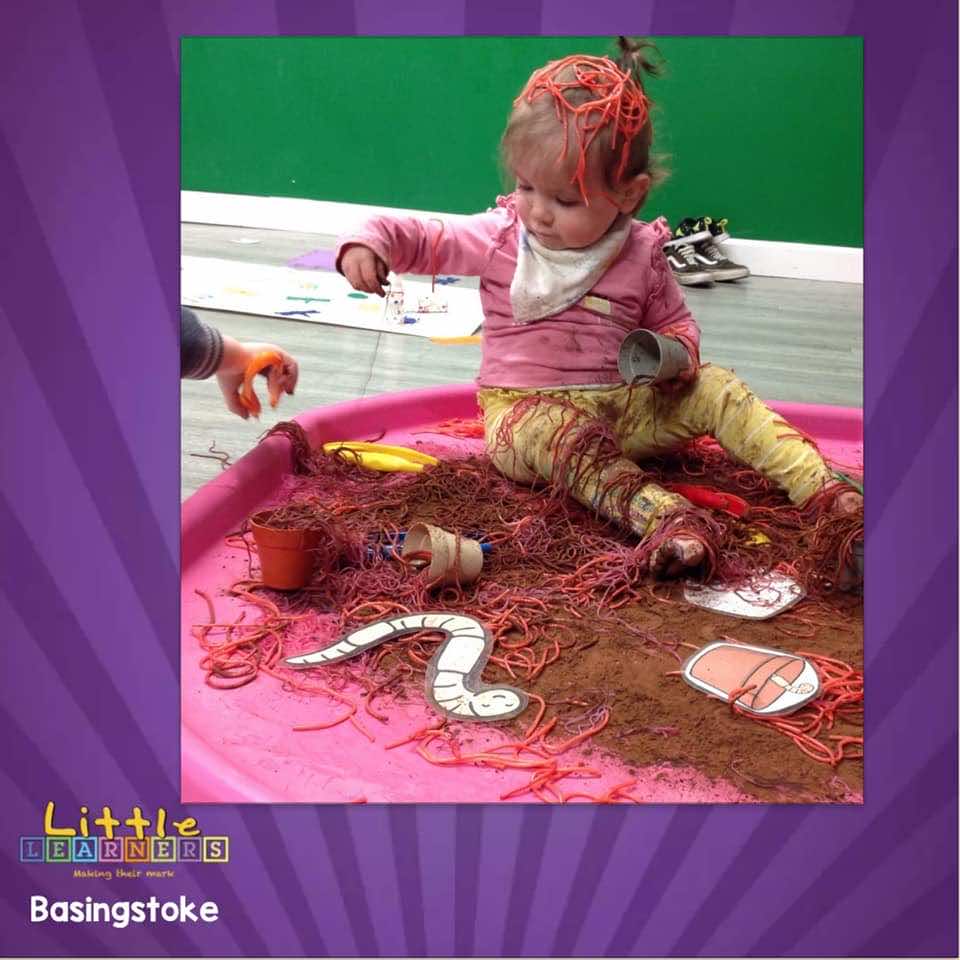
Spaghetti/ noodles
This is a true favourite in my classes and one that is perfect for all ages. The little ones love the sensory element and feeling the pretend wriggly worms and trying to grab them. The older ones use tweezers to pick them up which develops their fine motor skills and strengthens the muscles in their fingers.
Prep: I cook the spaghetti like normal then drain. I run the cold tap over the spaghetti to cool it down. Once it’s all cold I then pop it in a tub and add food colouring. I then give it a good mix using my hands. Do note that if you don’t want stained hands then use gloves!
My top tip: Add a bit of olive oil at the end to stop the spaghetti becoming super sticky! Pop into a sealed bag or container and leave in the fridge until you are ready to use.
Alternatives: You can use noodles which are fab for colouring. I use Lungkow Vermicelli noodles which are made from beans to cater for allergies.
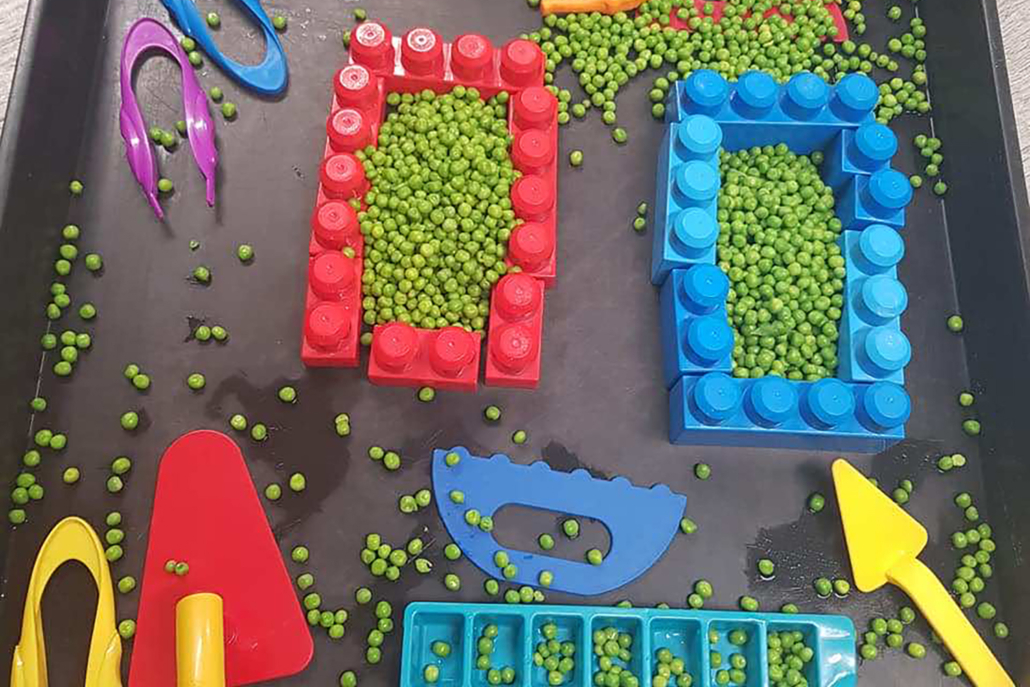
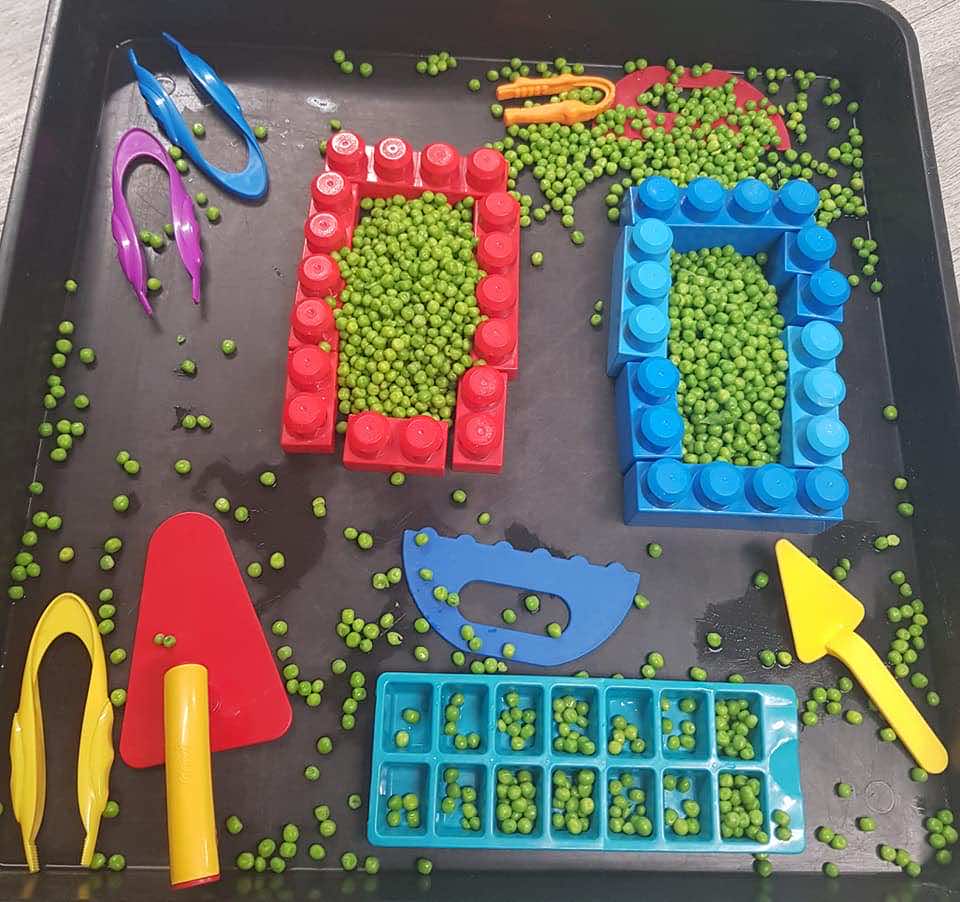
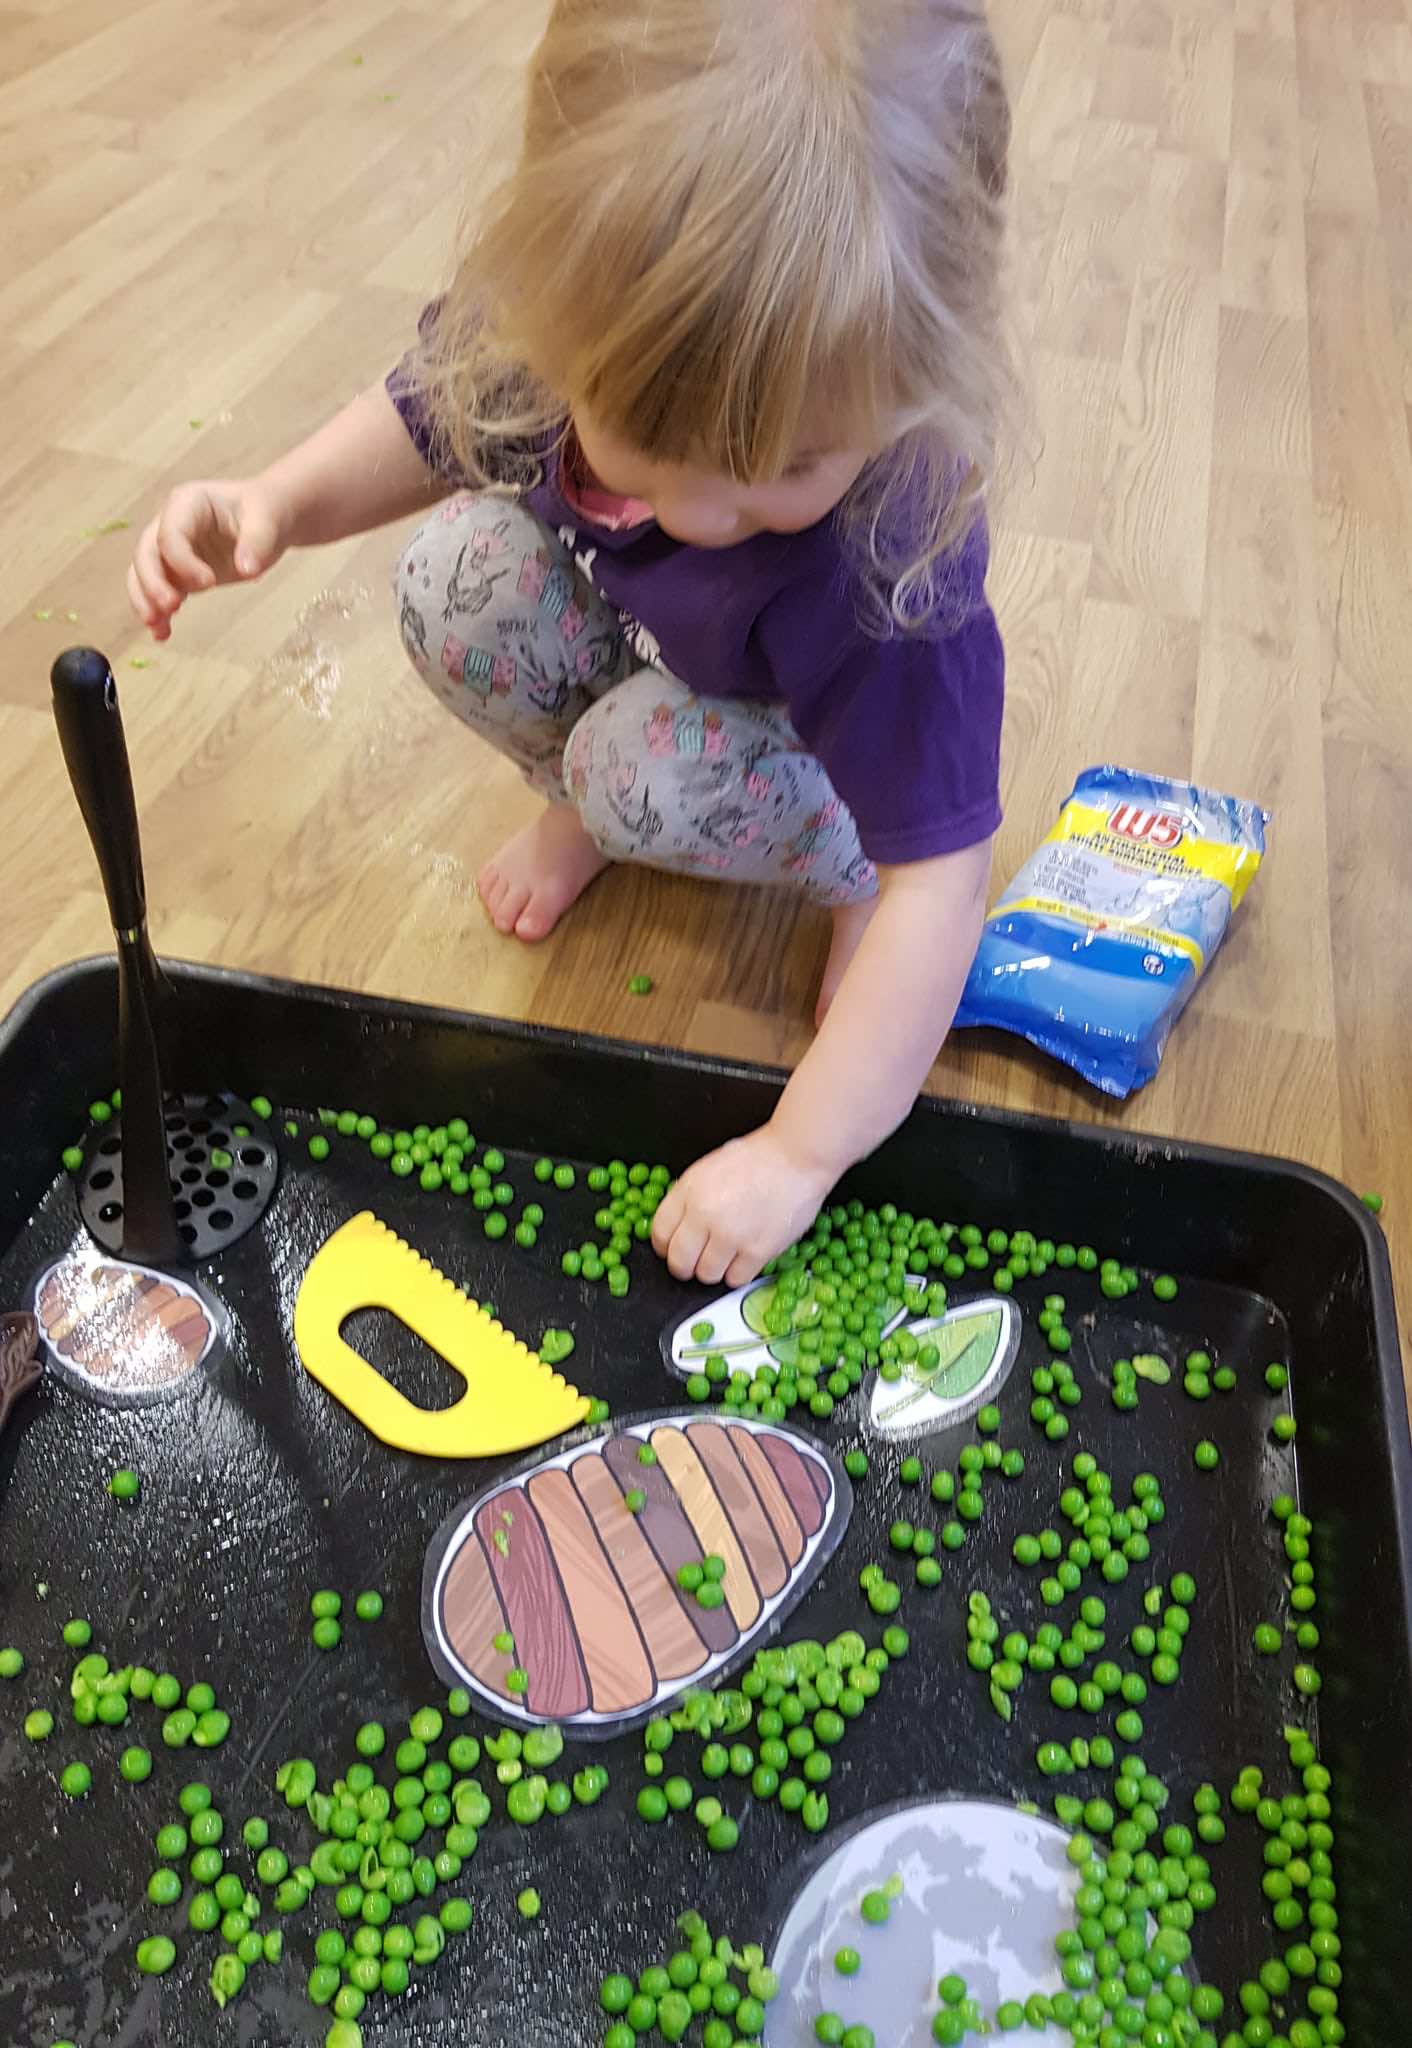
Peas
Now this is one that I have only just begun to use in classes and the kids LOVE it. It is a healthy one too. It is great for exploring and investigating shapes. Children realising that peas are round and can roll. You can squeeze them and mash them with your fingers.
Prep: Super easy prep. Just cook peas like normal. A great one to have in the freezer ready for a quick prep activity.
My top tip: Let the children use a potato masher to make mushy peas. A great way to build strength in their arms.
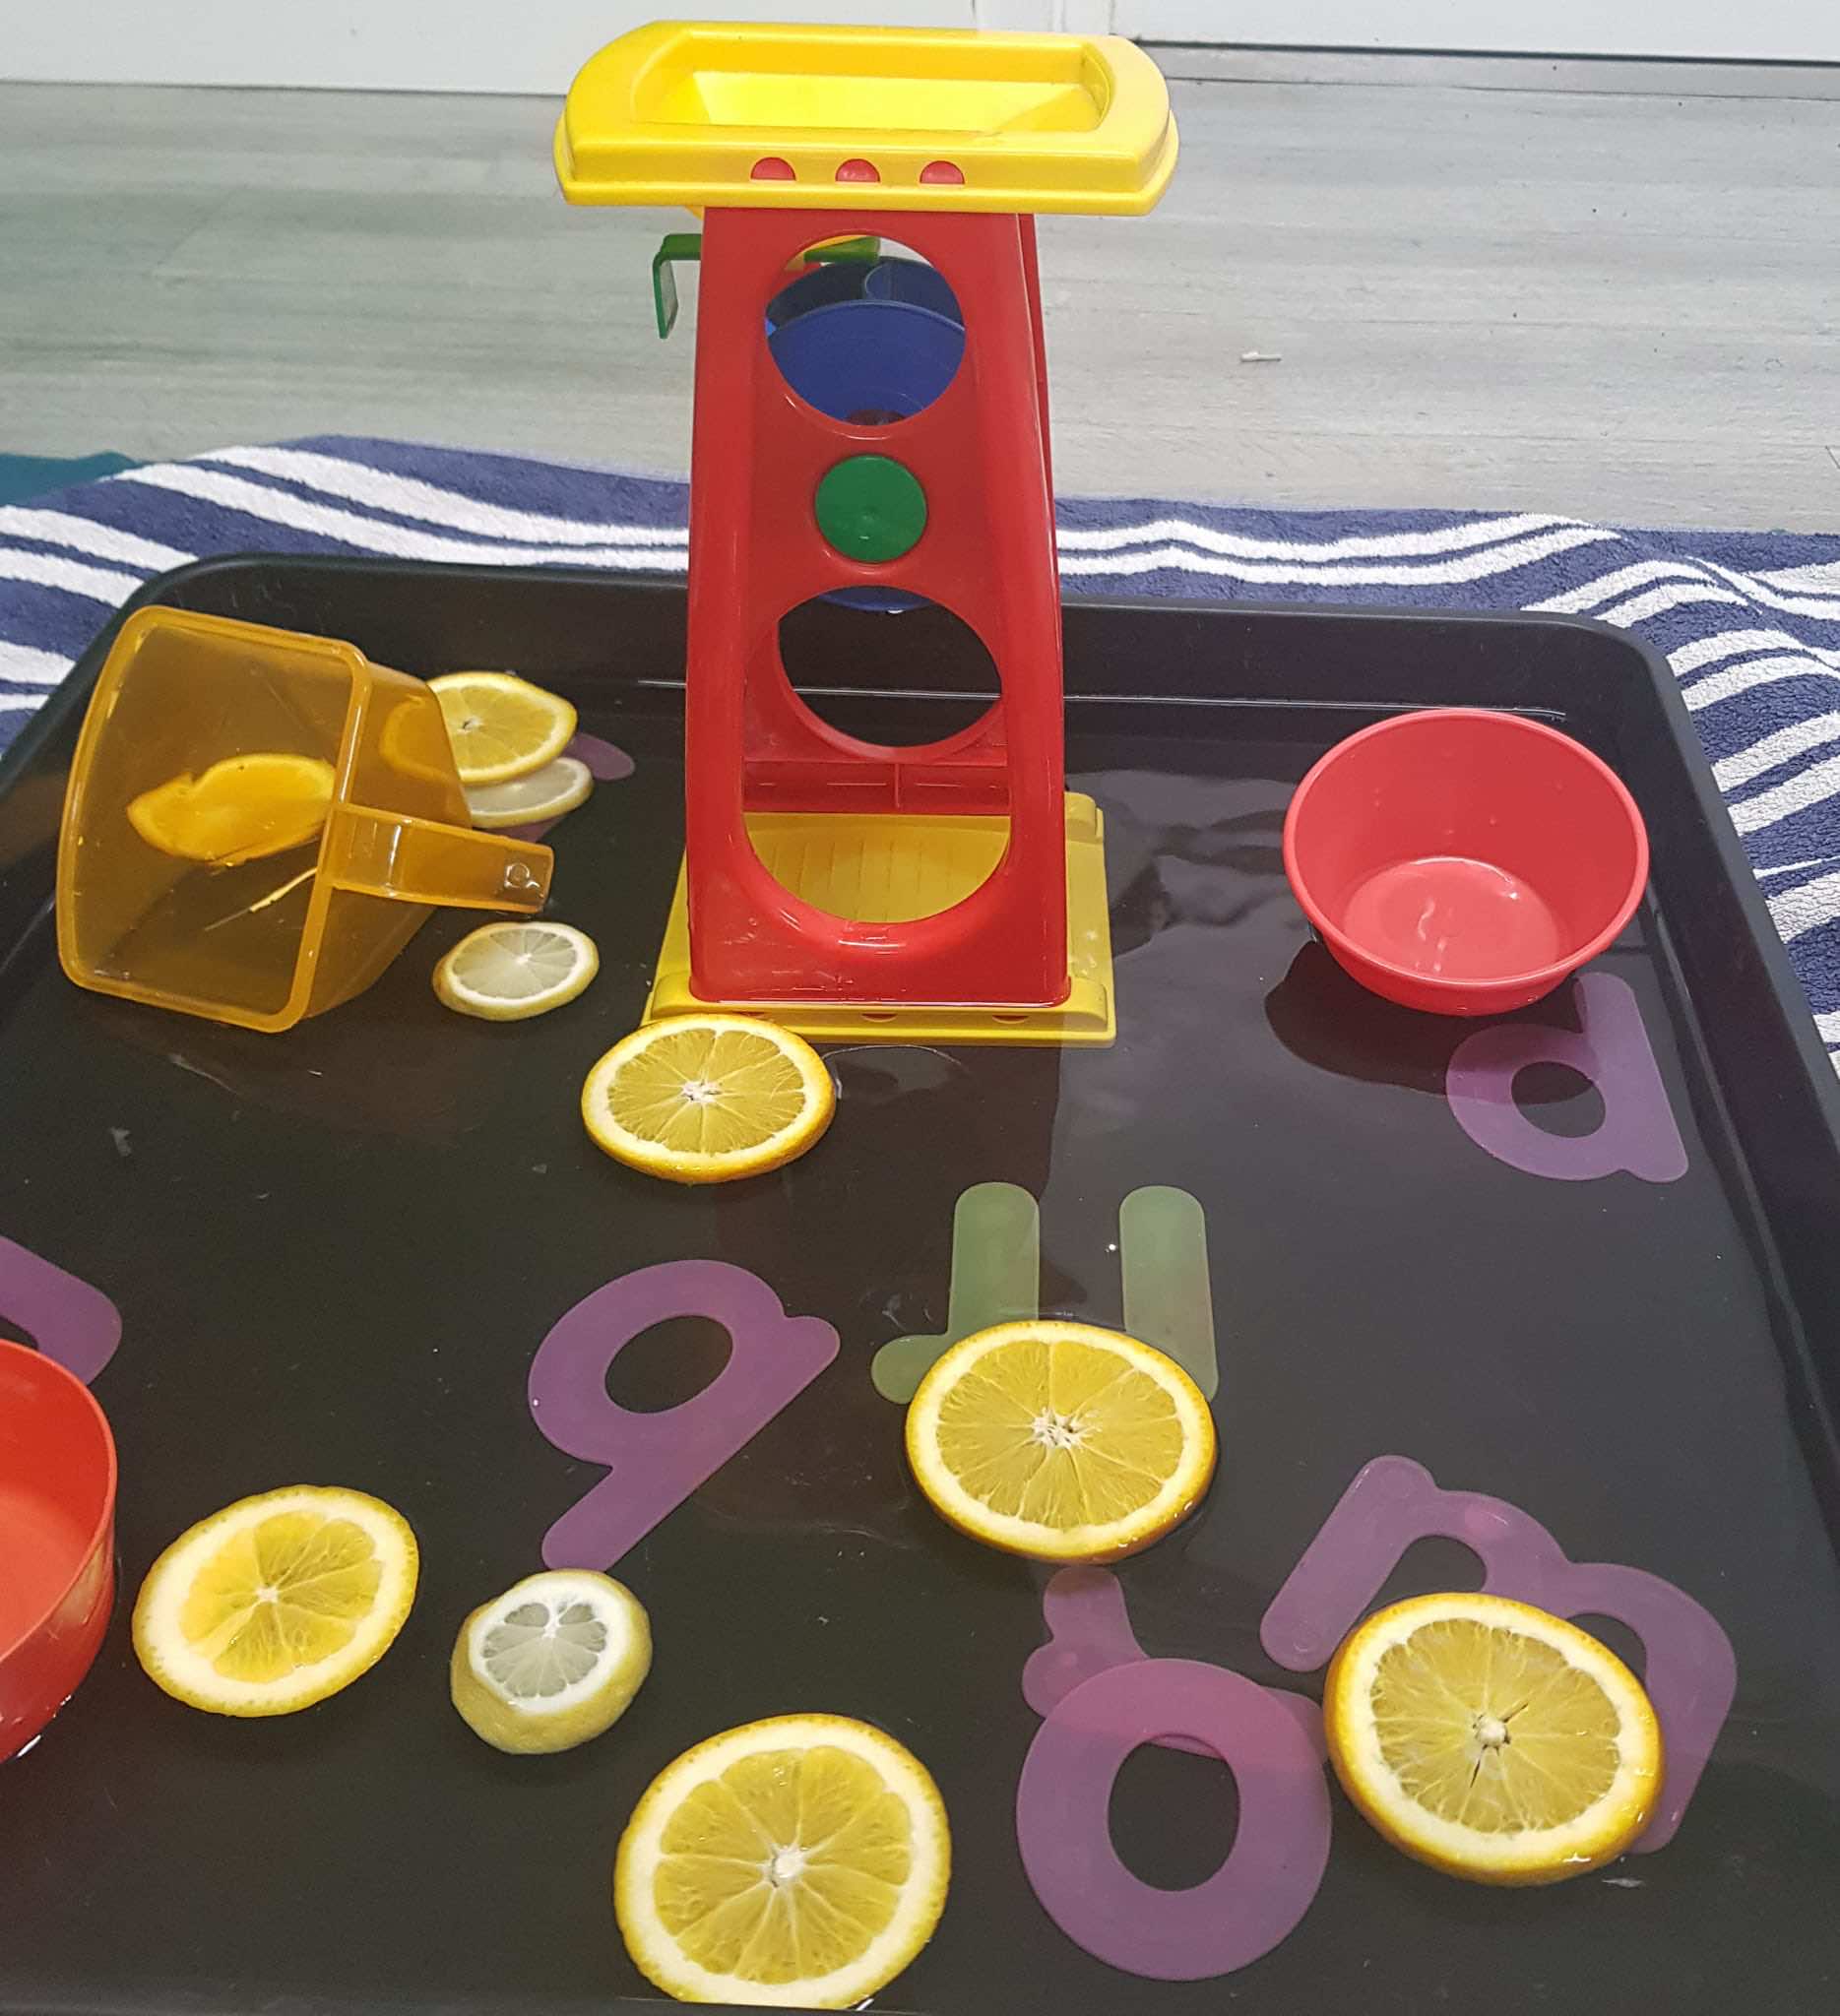
Water with oranges and lemons
The easiest one and one which is perfect for the garden and outdoor play. I added sliced oranges and lemons to the water. Perfect for exploring new tastes and the children loved squeezing them. You can add clear empty bottles, little tubs and big spoons are fab too.
Prep: cut up fruit and add water to the tuff tray.
My top tip: add food colouring in the clear bottles to make different colours. The children can then mix them to investigate colour mixing and make potions.

Crushed biscuits
This was one I saw online over lockdown and have been wanting to try out. Online I saw people had used a food blender which to be honest didn’t work well for me. I found it took far too long and was a bit of a faff. See prep section on what I ended up doing. Crushed biscuits is a good one as the texture is like smooth sand and great for sensory element.
Prep: I put some biscuits in a food bag and sealed the top. I then used a rolling pin and crushed the biscuits.
My top tip: Use the crushed biscuits to make different scenes like seaside, farm or desert.
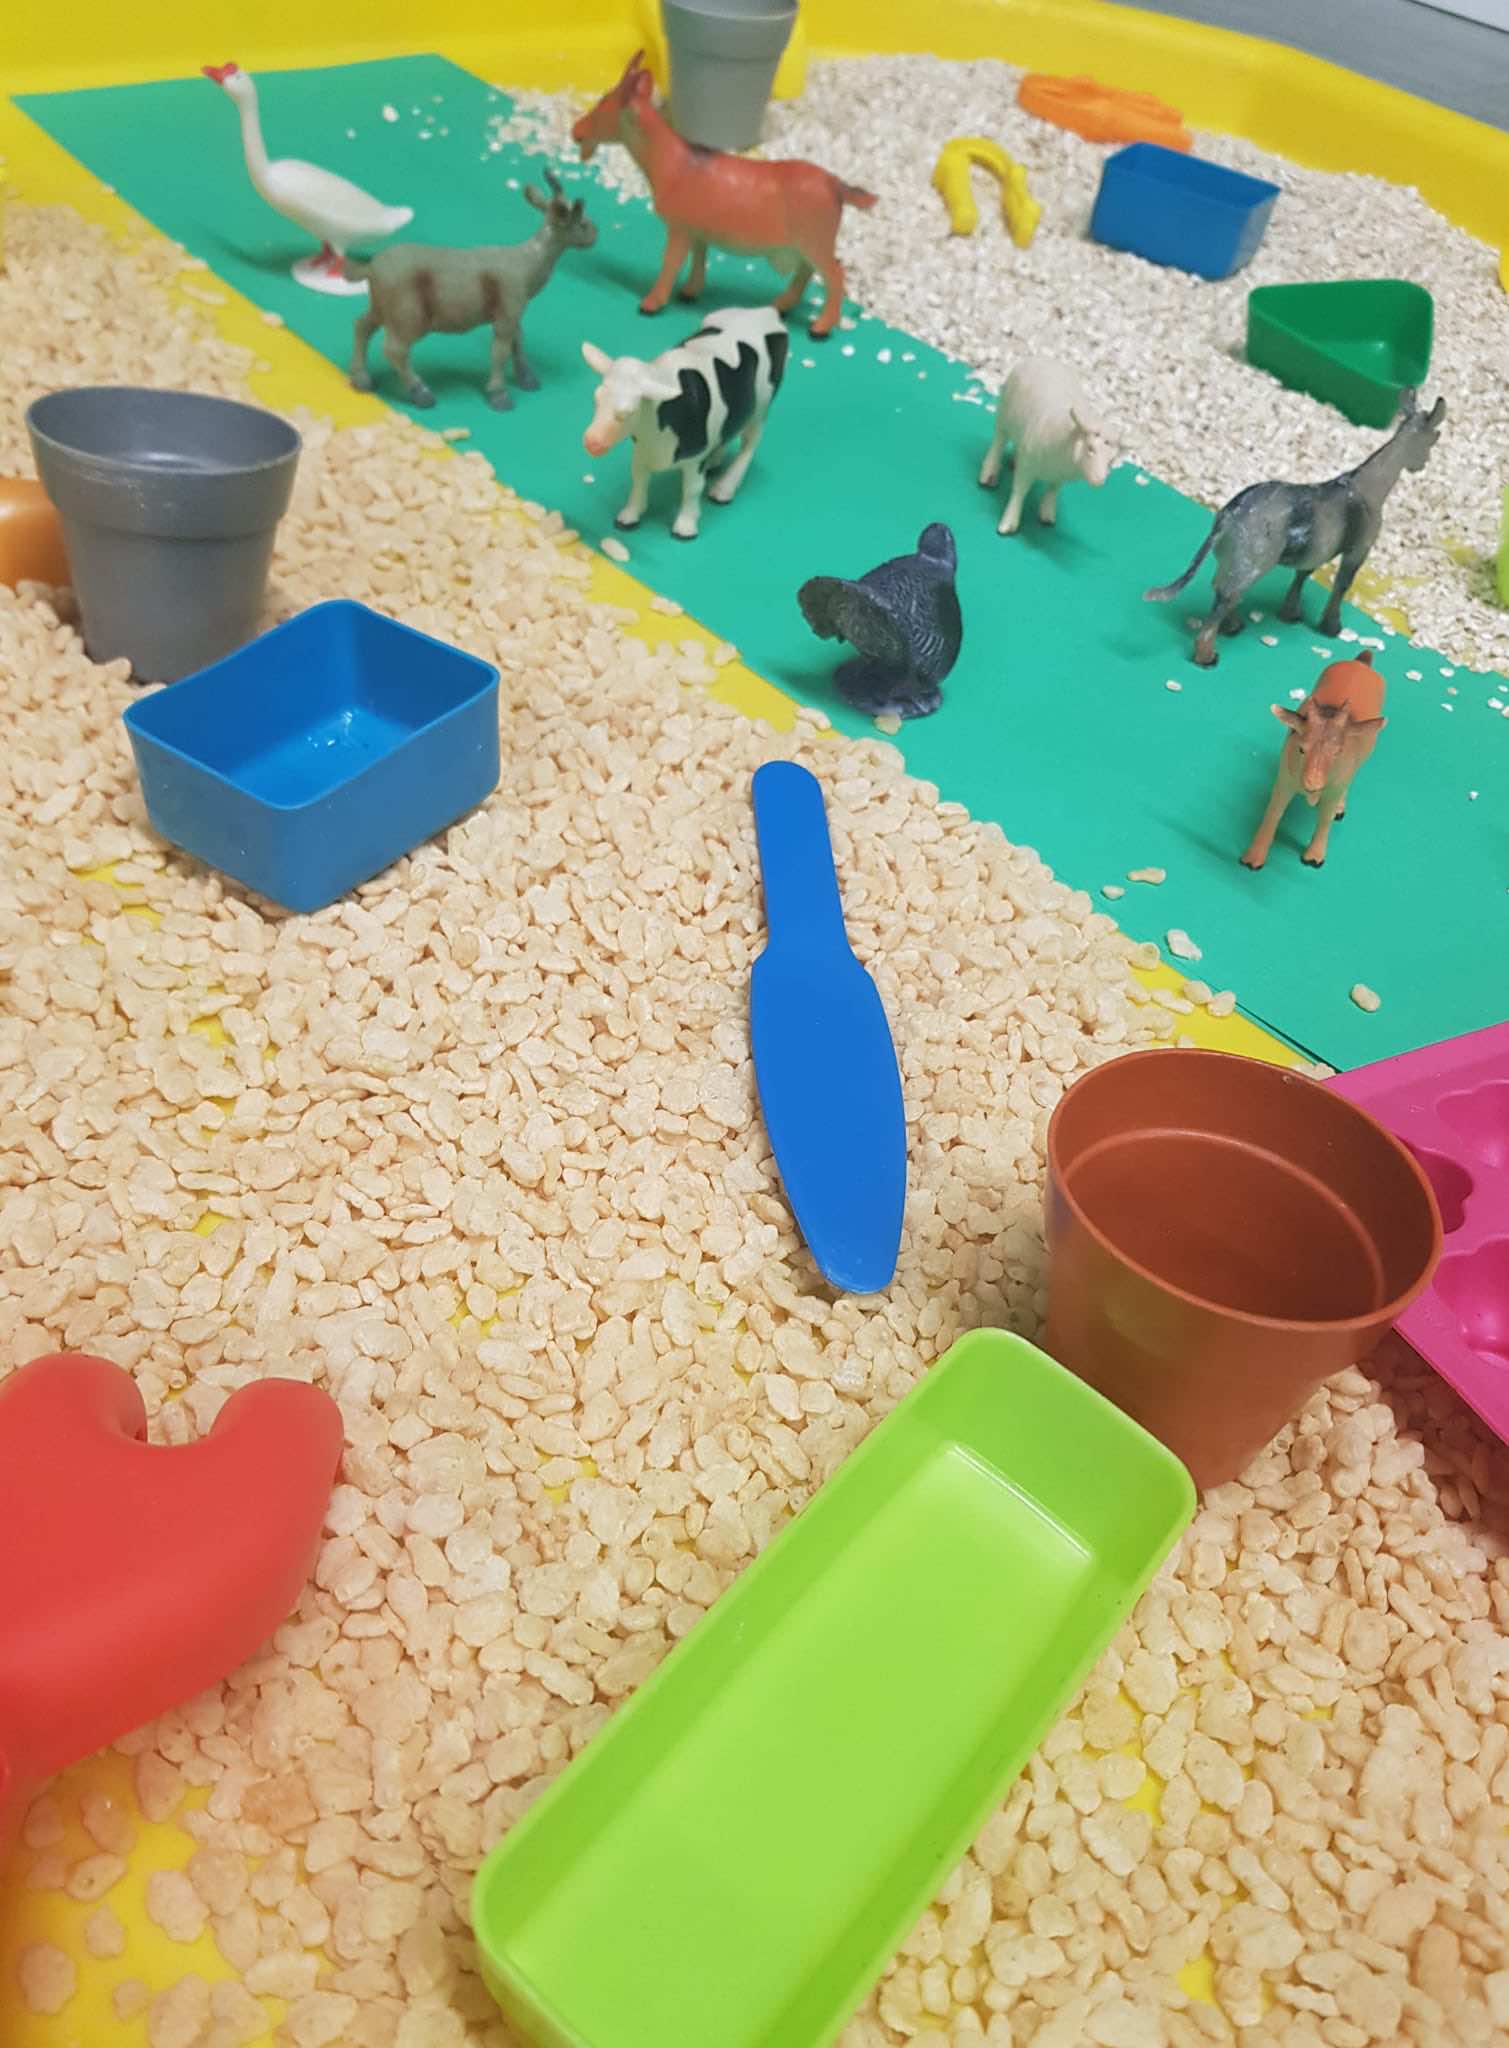
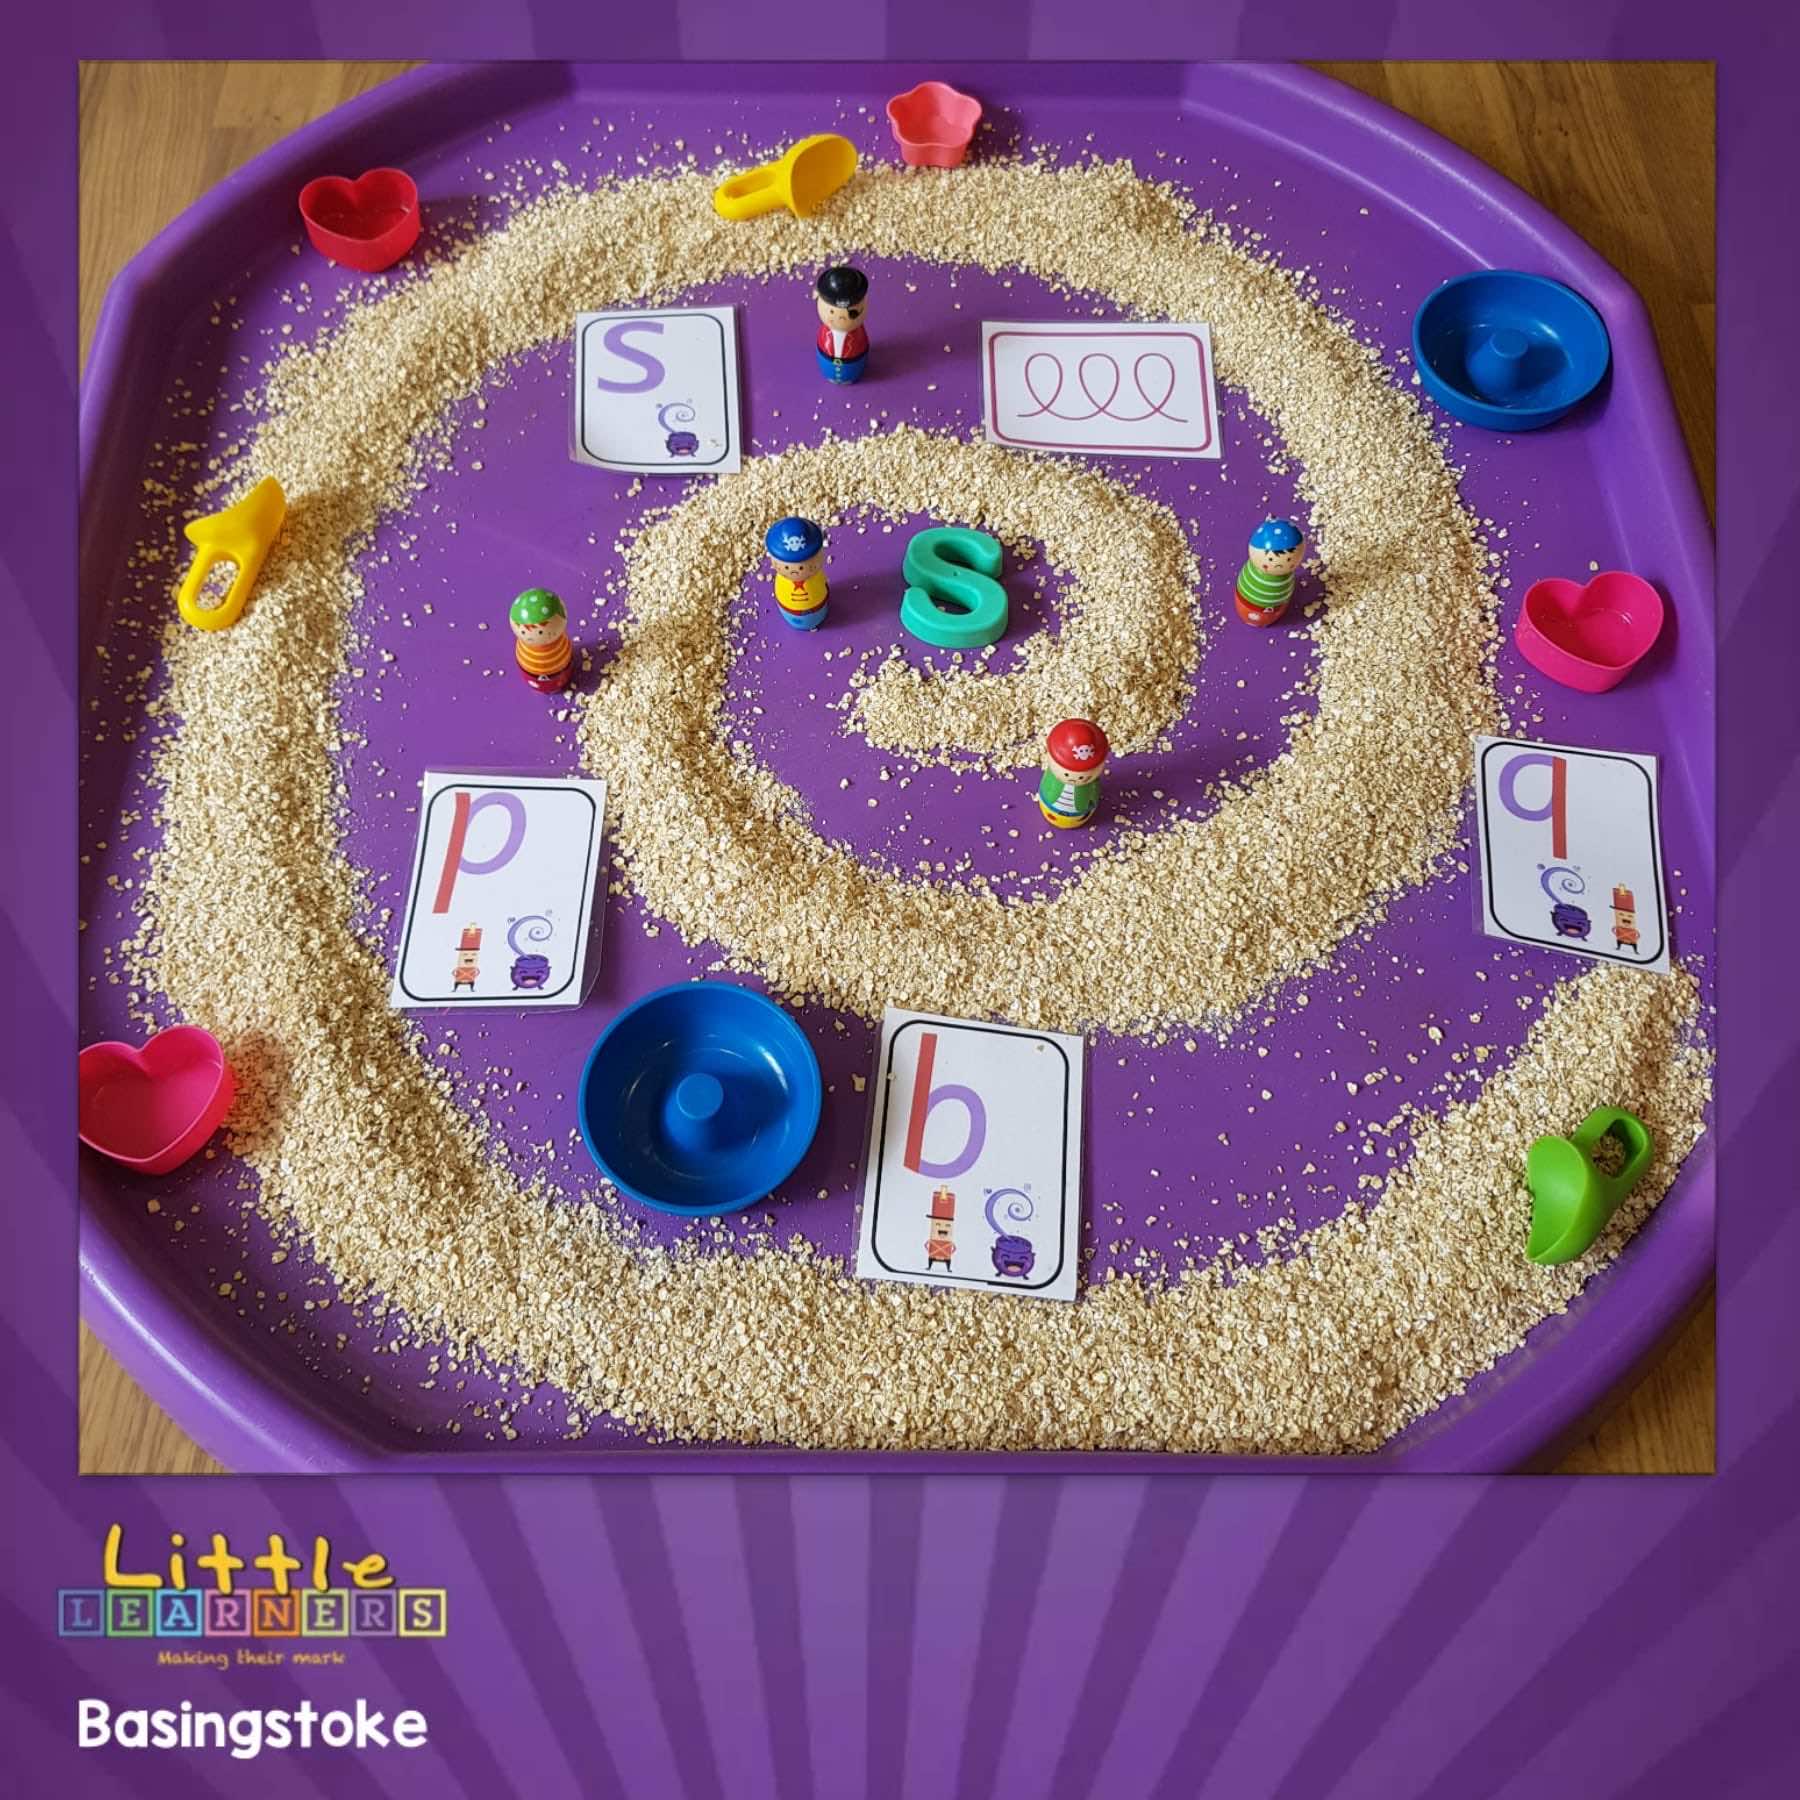
Oats/ cereals
I love this one for making different scenes and cereals come in all shapes and sizes. You can use Weetabix to build towers and borders.
Prep: no prep other than open the box of cereals!
My top tip: You can colour the oats by using food colouring with a TINY bit of water. You then rub that into the oats. Don’t use too much water or you will end with porridge!
I hope this has given you a few ideas.
Do mix and match to create scenes. At Little Learners we would love to see your creations and hear what you have been up to with your little ones. Did you know we have a facebook page where you can share the ideas? Just follow: https://www.facebook.com/groups/LittleLearnersLockdown
Have fun.
Thanks for reading.
Lene x


Leave a Reply
Want to join the discussion?Feel free to contribute!