
Drip Painting with Easter Eggs
This week I got hold of some of those hollow plastic Easter eggs for my little boy – you can find them in most supermarkets and pound shops. I thought we might try painting with them, because well, why paint with brushes when you can use pretty much any other object?! Here’s how I taught my little one drip painting with Easter Eggs!
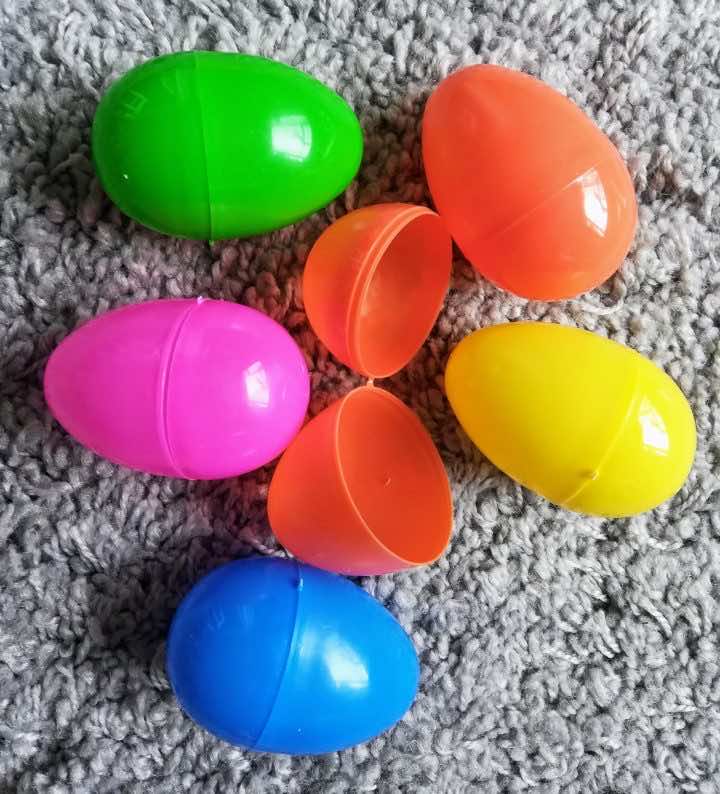
These fabulous, fun and easy to make Easter eggs are a colour filled spectacle! Perfect to brighten up your home this Easter! In order to make these super fun pieces of art, here’s what we did:
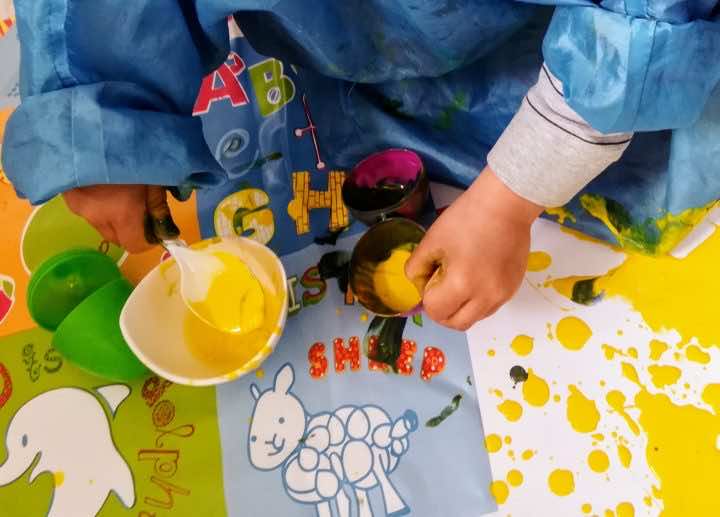
– First dilute some ready mixed paint with water. It doesn’t have to be too watery, just enough that it drips slowly through the holes in the eggs.
– To get your little one involved in the process let them spoon or pour the paint mixture into their eggs, and tape them shut if needed.
– Let them have fun dripping, splatting and splashing the paint around to make some gorgeous pieces of art!
(This is a great way to encourage them to practice mark making! How many marks can they spot in their masterpiece!)

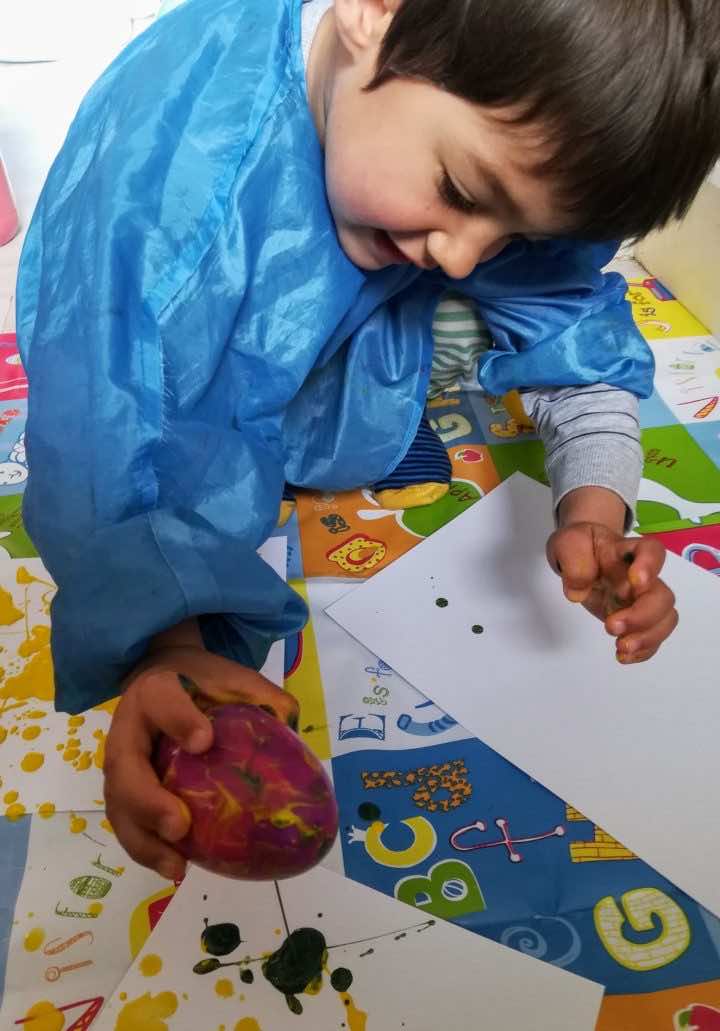
In the blink of an eye your little one has created their very own piece of art the help of only a plastic egg and some paint, AMAZING! The possibilities are endless with this DIY activity. If you’re feeling adventurous you can drop multiple colours of paint into your egg and see what cool effects you can make!
This activity is great for:
Building language skills, especially specific verbs e.g. drip, pour, splatter!
Improving fine motor control
Learning about mixing colours
Unleashing their creative intuition – it’s all about the process!
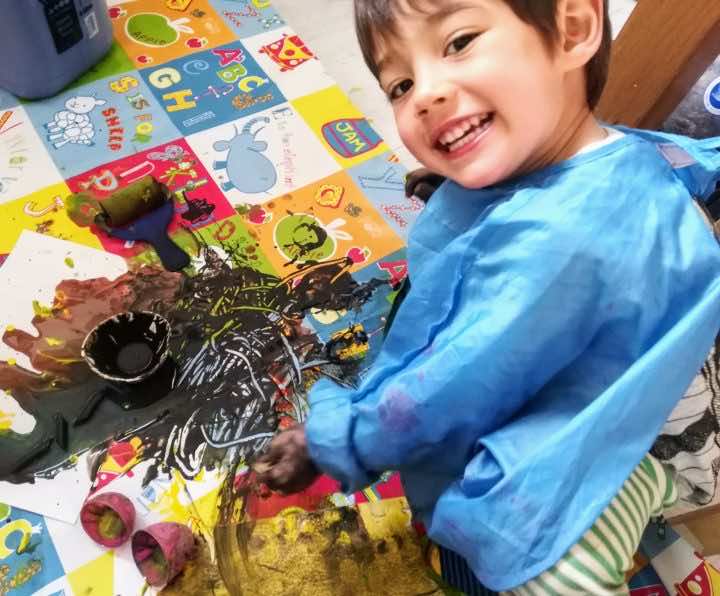
Messy fun (you’ve been warned..!)
We hope you enjoyed and are eager to get stuck in with drip painting Easter eggs! Happy Easter!


Leave a Reply
Want to join the discussion?Feel free to contribute!